Learn how to properly photograph a pregnancy test result for accuracy and documentation. Follow these steps to capture clear, reliable images every time.
By Shubhra Mishra — a mom of two who turned her own confusion during pregnancy into BumpBites, a global mission to make food choices clear, safe, and stress-free for every expecting mother. 💛
Check whether any food is safe during pregnancy with the BumpBites Food Safety Checker.
Quick take: Yes—you can safely document a pregnancy test with a photo, as long as the image is clear, includes the date and time, and is stored or shared using secure methods. Follow a simple step‑by‑step routine to capture the result accurately, keep the record private, and avoid any editing that could change what the test shows.
It’s 2 a.m., you’ve just taken a home pregnancy test, and the faint line on the strip is making your heart race. You reach for your phone, wondering whether a quick snap could serve as proof for your doctor, your partner, or even your workplace. You’re not alone—many expecting parents turn to photography to record that pivotal moment, but the process isn’t as simple as pointing and shooting.
In this guide we’ll walk you through everything you need to know about photographing a pregnancy test—whether it’s a classic stick‑type strip or a newer digital reader. We’ll cover the best lighting, the exact details you should capture, how to keep the image private, and why you should never edit the picture. By the end, you’ll have a reliable, doctor‑approved visual record you can store, share, and reference with confidence.
We’ll also answer common concerns like “Can a photo be used as legal proof?” and “What if the test line is faint?” plus we’ll share tools and apps that can help you interpret the result. Let’s get started.
How to take a clear photo of a pregnancy test for documentation
Clear, reproducible documentation begins with a clean set‑up and a consistent method. Below is a step‑by‑step routine you can follow every time you test, ensuring that each photo is as reliable as the test itself.
Step 1: Gather your tools
Use a smartphone with a camera of at least 8 megapixels. Modern phones meet this requirement.
Have a plain, non‑reflective background ready—white cardstock, a matte wooden board, or a light‑colored towel works well.
Keep a small ruler or a printed date stamp nearby; it can serve as a size reference and guarantee the date is visible.
Step 2: Prepare the test
After the test has developed for the recommended time (usually 3–5 minutes), place it on the chosen background. If you’re using a digital strip that displays a number or emoji, make sure the screen is facing upward and fully visible.
Step 3: Position your phone
Hold the phone directly above the test, aligning the lens with the center of the strip. Avoid angling the camera; a perpendicular (90‑degree) view eliminates distortion and ensures the control and result lines are not skewed.
Step 4: Focus and capture
Tap the screen to focus on the test line. Most phones will automatically adjust exposure, but you can manually lower the brightness if glare appears. Take three shots—one with the test alone, one with a ruler for scale, and one that includes the date printed on the screen (if your phone’s camera app adds a timestamp).
Step 5: Verify the image
Zoom in on each photo. The control line (C) must be dark and clearly visible; the result line (T) should be distinguishable from the background. If the result line is faint, consider retaking the picture under better lighting (see the next section).
Following this routine gives you a set of images that can be used for personal records, medical appointments, or even legal documentation if ever required.
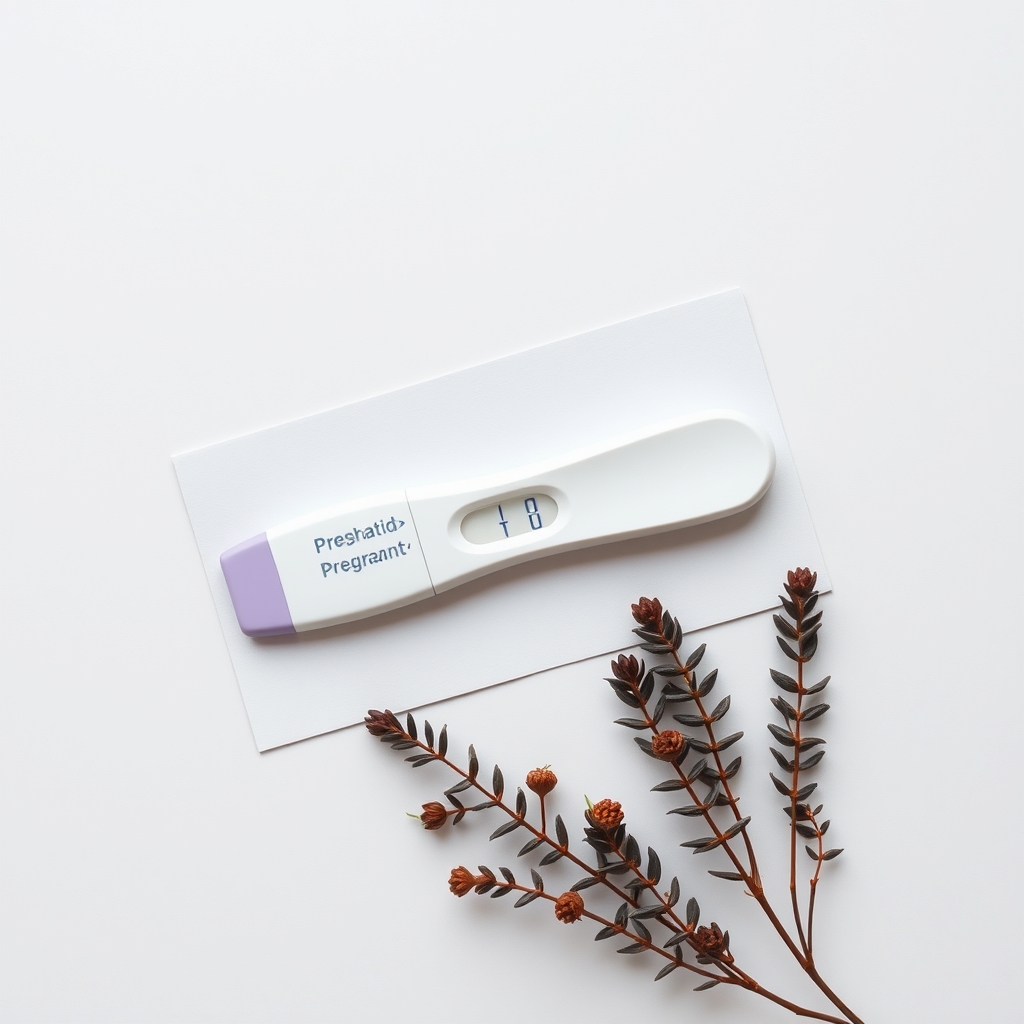
Set up a plain background and hold the phone straight above the test for a distortion‑free shot.
Even if you’re in a hurry, taking a few extra seconds to align the phone and double‑check focus can save you from needing to repeat the test later. Consistency also makes it easier to compare results across days if you’re tracking hormone changes.
Best lighting for photographing a pregnancy test result
Lighting is the single most important factor in capturing a legible test line, especially when the line is faint. Natural daylight is ideal, but you can replicate its effect with simple household lighting.
Natural light
Choose a window that receives indirect sunlight—direct sun can cause harsh shadows and glare.
Position the test a few inches from the window, with the light falling evenly across the strip.
Use a white sheet of paper behind the test to diffuse the light and reduce reflections.
Artificial light alternatives
If daylight isn’t available, a soft LED desk lamp or a ring light set to a neutral white (≈4000 K) works well. Place the light source at a 45‑degree angle to the test to avoid hotspots. Avoid fluorescent lights that flicker, as they can create banding in the photo.
Avoiding common lighting pitfalls
Glare: Shiny surfaces on the test casing can reflect light, obscuring the result line. Use a matte background and tilt the test slightly if needed.
Shadows: Ensure there are no shadows cast by your hand or surrounding objects. A second light source on the opposite side can balance shadows.
Color cast: Warm yellow lighting can make a faint line appear darker. Stick to neutral white or daylight‑balanced bulbs.
When you’ve found the right lighting, the result line should appear as a crisp, contrasting stripe against the white background, making interpretation straightforward.
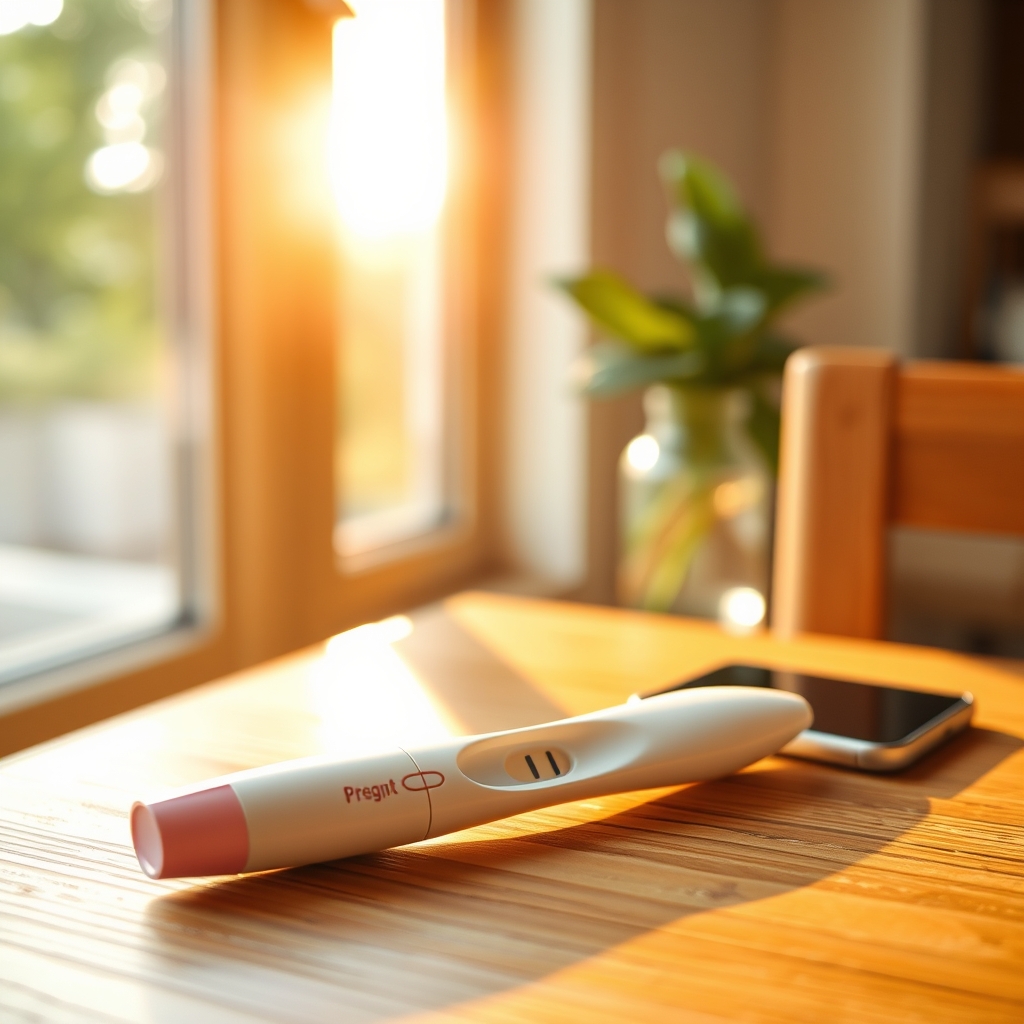
Soft, diffused natural light reduces glare and highlights faint lines.
Take a test photo at the same time of day each time you test. Consistent lighting not only improves image quality but also creates a reliable visual timeline if you need to show hormone progression to your provider.
What details to include when photographing a pregnancy test
Beyond a clear image of the test lines, certain details make the photo useful for medical review and future reference.
Essential elements
Control line (C): Must be dark and fully visible; if the control line is missing, the test is invalid.
Result line (T): Capture the entire length, even if it looks faint.
Date and time: Include a visible timestamp—either from the phone’s built‑in metadata (ensure it’s enabled) or a handwritten note on the background.
Brand and batch number: Some clinicians like to see the test’s manufacturer and lot number, which are printed on the packaging. A quick photo of the box or the strip’s identifying label can be added as a separate image.
Optional but helpful
Include a ruler or a coin for scale; this helps verify the test’s size if ever needed for legal purposes.
Take a photo of the urine sample container (if you used a cup) to show the collection method.
Record the ambient temperature if you’re in an extreme climate; temperature can affect some test types.
When you combine these elements, the resulting set of photos serves as a comprehensive visual record that doctors can interpret without needing you to repeat the test.
Adding a brief note—“Test taken at 7 p.m., after first‑morning urine”—can be especially helpful for providers who track hormone trends over several days.
How to share a pregnancy test photo with a doctor securely
Sharing medical images online can feel risky, but there are several secure pathways that keep your privacy intact while giving your provider the visual evidence they need.
Encrypted messaging apps
Signal: End‑to‑end encrypted, no metadata stored on servers.
WhatsApp: Encrypted by default; however, messages are backed up to cloud services unless you disable that feature.
iMessage (Apple devices): Encrypted in transit; ensure you have two‑factor authentication enabled.
Patient portals
Most health systems (e.g., MyChart, NHS App, or the UK’s Patient Access) have secure portals where you can upload images directly to your electronic health record. These portals are HIPAA‑compliant in the U.S. and GDPR‑compliant in the U.K., offering the highest level of protection.
Email best practices
If you must use email, encrypt the attachment using a password‑protected PDF. Share the password through a different channel (e.g., a text message). Never send unencrypted images via regular email.
What to say when you send the photo
Include a brief note: “Attached is a photo of my home pregnancy test taken on [date] at [time]. The control line is present, and the test line appears faint. Please let me know if you need a clearer image or a repeat test.” This gives the clinician context and reduces back‑and‑forth.
Most providers appreciate a concise message because it saves time and lets them focus on interpreting the result rather than hunting for missing details.
Can I edit a pregnancy test photo without altering results?
The short answer: No. Any editing—cropping, adjusting brightness, or applying filters—can unintentionally change the appearance of the test line and undermine the photo’s credibility.
Why editing is risky
Brightness and contrast: Boosting these can make a faint line look darker, suggesting a positive result when the original was negative.
Color balance: Shifting colors may make the control line appear more prominent, again skewing interpretation.
Crop and zoom: Cutting out part of the strip removes context, such as the control line, which clinicians need to confirm validity.
What you can do instead
If the original image is blurry, retake the photo using the lighting tips above. If you need to focus on a particular area, use the phone’s native “zoom” function before taking the picture rather than enlarging the image afterward.
In short, treat the photo as a legal document: keep it untouched, and if you’re ever asked to provide “evidence,” the original, unedited file will be the one you should send.
Remember, even subtle changes can be flagged by a clinician, so it’s best to avoid any post‑capture manipulation altogether.
How to store pregnancy test photos for future reference
Storing your images safely ensures you can retrieve them for future appointments, insurance claims, or personal records without compromising privacy.
Secure storage options
Option
Security level
Ease of access
Cost
Encrypted cloud service (e.g., iCloud with two‑factor, Google Drive with Advanced Protection)
High (encryption at rest and in transit)
Very easy—access from any device
Free‑to‑moderate
Dedicated health‑record app (e.g., MyChart, HealthVault, or NHS Health Record)
Very high (HIPAA/GDPR compliant)
Easy—integrated with medical portal
Usually free
Local encrypted folder on phone or computer (e.g., using VeraCrypt)
High (depends on password strength)
Moderate—requires manual backup
Free
Standard photo gallery (unprotected)
Low (no encryption)
Easy
Free
Best practices for each option
Encrypted cloud: Enable two‑factor authentication, and set the folder to “private.” Use a strong, unique password.
Health‑record app: Upload directly from the camera roll; the app will store the image within your medical record, automatically timestamped.
Local encrypted folder: Create a folder with a strong passphrase, and back it up to an external drive that you store in a safe place.
Avoid standard galleries: If you must use them temporarily, delete the images after uploading them to a secure platform.
By choosing a secure storage method, you protect sensitive information and make it easy to locate the photo when you need it.
Regularly review your storage settings—privacy policies change, and a once‑secure service may become vulnerable over time.
Tips for photographing a digital pregnancy test strip
Digital pregnancy tests—those that display a plus sign, a smiley face, or a numeric hCG level—present a slightly different set of challenges.
Capture the whole screen
Place the digital reader on a flat surface and position your phone directly above it. Ensure the screen fills most of the frame, but leave a small margin so the display’s edges are visible. This helps verify that the device was turned on and displaying the result correctly.
Mind the glare
Digital screens can reflect ambient light, washing out the displayed result. Use a matte screen protector or angle the device slightly to reduce reflections. If glare persists, turn off nearby lights and rely on natural daylight.
Record the numeric value
If the test shows an hCG concentration (e.g., “45 mIU/mL”), make sure the number is legible. Zoom in on the photo after taking it to confirm the digits are crisp. If they appear blurry, retake the shot with a different angle.
Include a timestamp
Many digital tests automatically embed the date and time on the screen; if yours does not, capture the phone’s timestamp or write the date on a piece of paper next to the device.
Following these details will give you a photo that clinicians can interpret just as they would a paper‑based test.
Interpreting faint lines on pregnancy test photos
Faint test lines are a common source of anxiety. When reviewing a photo, consider the following factors:
Control line presence: A clear control line confirms the test worked. If the control line is missing, the result is invalid regardless of the test line.
Line intensity comparison: Compare the faint line to the background. If it’s darker than the surrounding area, it is likely a positive. Some tests provide a “low‑hCG” threshold; consult the test’s instructions.
Time elapsed: Most tests are read within a specific window (e.g., 3–5 minutes). A photo taken too early or too late may show a line that fades or appears lighter.
Repeat test: If you’re unsure, a second test after 24 hours can provide confirmation.
When in doubt, send the photo to your provider (using the secure methods described above) and ask for a professional interpretation.
Remember, a faint line does not automatically mean “negative.” Hormone levels rise quickly in early pregnancy, and some tests are designed to indicate a positive result at very low hCG concentrations.
Best apps for analyzing pregnancy test results from photos
Several mobile apps can assist in interpreting the result line, especially when the line is faint. These tools use image‑analysis algorithms to compare line intensity against the control line.
Pregnancy Test Analyzer (iOS/Android): Offers a simple “Upload Photo” function and gives a “Positive,” “Negative,” or “Indeterminate” rating.
MyPregnancyTest (Android): Allows you to calibrate the app with a known negative test, improving accuracy for your specific brand.
HealthSnap (iOS): Integrates with health records and can store the image securely, but its analysis feature is limited to newer digital tests.
These apps are convenient, but they are not a substitute for a clinical evaluation. Always confirm any app‑generated result with a healthcare professional.
When you use an app, keep the original photo as backup. If the app misinterprets the line, the untouched image will still be valid for your doctor.
Privacy concerns when sharing pregnancy test images
Pregnancy test photos contain highly personal health information. Here are the main privacy risks and how to mitigate them:
Metadata leakage: Photos often embed location data. Disable GPS tagging in your camera settings before you shoot.
Unintended sharing: Social‑media platforms can automatically suggest sharing. Double‑check the audience settings before posting any image online.
Data breaches: Storing images in unencrypted cloud services can expose them to hackers. Use services with end‑to‑end encryption.
Retention policies: Some apps keep images indefinitely. Review the privacy policy and delete images you no longer need.
By taking these precautions, you keep your reproductive health information private while still being able to share it with the professionals who need it.
It’s also wise to review the privacy settings of any app you download, as some “free” tools may monetize data in ways you wouldn’t expect.
How long does a pregnancy test result remain visible in a photo?
Physically, a urine‑based strip’s test line can fade over days as the chemicals degrade, but the photo you captured preserves the exact visual state at the moment of shooting. Therefore, the image remains a permanent record, provided you store it correctly.
Digital tests that display a number or symbol may retain that data in the device’s memory for weeks, but the photo is still the most reliable snapshot. For legal or medical purposes, the image’s timestamp serves as proof of when the result was observed.
If you need to reference the result weeks later—for example, during a prenatal visit—simply pull the stored image; the visual evidence will match the original observation.
Using a smartphone camera to capture pregnancy test results
Smartphones are the most accessible tool for most people, and they offer several built‑in features that enhance image quality:
HDR (High Dynamic Range): Enables a balanced exposure in mixed lighting.
Grid lines: Helps you align the test with the frame for a straight shot.
Manual focus: Tap‑to‑focus on the test line for sharpness.
Built‑in timestamp: Turn on “Show date and time” in settings; this embeds the info directly onto the photo.
Even with a modest phone, following the lighting and positioning steps above will give you a clear and trustworthy image.
Make a habit of checking that your camera lens is clean before each test—fingerprints can blur the result line just as much as poor lighting.
Step‑by‑step guide to documenting pregnancy test results with photos
Prepare a clean, non‑reflective surface. Lay out a white piece of paper or a matte board.
Gather tools. Have your phone, a ruler, and a pen for notes ready.
Set lighting. Use natural daylight or a soft white lamp, avoiding direct glare.
Place the test. Position the strip or digital reader in the center of the surface.
Enable timestamp. Turn on date/time overlay in your camera settings.
Focus and shoot. Tap the screen to focus, adjust exposure if needed, and take three photos—plain, with ruler, and with a handwritten date if the phone lacks a timestamp.
Review images. Zoom in to confirm both control and result lines are clear.
Securely store. Upload to an encrypted cloud folder or a health‑record app.
Share if needed. Use a secure messaging app or patient portal to send the image to your provider.
Following these steps each time you test creates a reliable visual log that you and your healthcare team can reference whenever needed.
Consistency is key; a repeatable routine reduces the chance of missing details and makes it easier to track changes over the course of early pregnancy.
From our medical team: A well‑taken photo can be just as informative as the test itself, especially when you need to show a result to a clinician who isn’t present. We recommend keeping the original, unedited image and using secure methods to transmit it. If you ever feel uncertain about a faint line, a repeat test or a professional interpretation is the safest route.
Legal considerations for using a pregnancy test photo as evidence
In some situations—such as insurance claims, workplace accommodations, or court proceedings—a pregnancy test photo may be used as documented proof. Courts and insurers typically require a clear, unaltered image that includes a date, time, and a visible control line.
To strengthen the legal standing of your photo, keep the original file (with EXIF metadata intact) and avoid any compression that could degrade detail. If you need to submit a copy, create a PDF that embeds the image without re‑encoding it, and keep the original on hand in case the requesting party asks for the raw file.
Guidelines from the American Bar Association note that electronic evidence must be “authentic, reliable, and unaltered.” Following the secure capture and storage steps outlined earlier helps you meet those criteria.
Using pregnancy test photos during telehealth appointments
Telehealth visits have become routine, and many providers now ask patients to show test results on video. A high‑resolution photo can be shared in the chat window of the telehealth platform, or you can hold the test up to the camera while the clinician watches live.
Before the appointment, test your internet connection and make sure the lighting is adequate. Position the test a few inches from the camera, and keep your hand steady—using a tripod or a stack of books can help. If the provider asks for a close‑up, pause the video, take a quick photo using the steps above, and upload it securely through the platform’s encrypted file‑transfer feature.
Many telehealth platforms (e.g., Teladoc, Amwell) automatically log the time a file is uploaded, which adds an extra layer of timestamp verification.
Myth vs. fact
Myth: Editing a photo to make the line darker is harmless because it doesn’t change the test.
Fact: Any alteration can misrepresent the result and may be considered falsification if the image is used as evidence.
Myth: You don’t need to include the date on a pregnancy test photo.
Fact: A date stamp establishes when the test was taken, which is crucial for medical timelines and legal verification.
Myth: Sharing the photo on social media is safe because it’s just a picture.
Fact: Even a simple image reveals personal health information; share only through encrypted, private channels.
Key takeaways
Use a plain, matte background and hold the phone directly above the test for a distortion‑free shot.
Natural daylight or a soft white lamp provides the best lighting; avoid glare and shadows.
Include the control line, result line, date, time, and optionally a ruler for scale.
Never edit the photo—any changes can affect line visibility and authenticity.
Store images in encrypted cloud services or a dedicated health‑record app, and share only via secure, HIPAA/GDPR‑compliant channels.
If the result line is faint, retake the photo under better lighting or use a reputable analysis app, but always confirm with your provider.
Frequently asked questions
Can a photo of a pregnancy test be used as proof?
Yes—if the image is clear, shows both control and result lines, includes a date/time stamp, and is stored securely, it can serve as documentation for doctors, insurers, or legal purposes.
What is the best angle to photograph a pregnancy test?
The best angle is a straight‑down, 90‑degree view. This eliminates distortion and ensures the control and test lines appear the same length as on the actual strip.
Do I need to include the date on a pregnancy test photo?
Including the date (via a timestamp overlay or a handwritten note) is essential. It verifies when the test was taken and helps clinicians track hormone changes over time.
How can I ensure the photo shows the test line clearly?
Use bright, even lighting, focus directly on the test line, and avoid glare. If the line is faint, retake the photo with better lighting or a higher‑resolution setting.
Is it safe to share pregnancy test photos online?
Sharing publicly is not recommended because the image contains personal health data. Use encrypted messaging apps or your provider’s patient portal for private sharing.
Can I edit a pregnancy test photo without affecting its authenticity?
No. Any editing—cropping, adjusting brightness, or applying filters—can alter the appearance of the test line and may be considered tampering.
Can I use a smartwatch camera to capture a pregnancy test?
While a smartwatch camera can technically take a picture, the resolution is usually too low to show faint lines clearly. We recommend using a smartphone with at least 8 MP for reliable documentation.
What should I do if my home pregnancy test is expired?
Expired tests may give inaccurate results. If you suspect the test is past its expiration date, discard it and use a new kit. You can still photograph the expired test for reference, but treat the result as unreliable.
When to call your doctor
If you notice any of the following, seek medical advice promptly: a missing control line, a result line that changes color after the recommended reading window, severe abdominal pain, heavy bleeding, or if you receive conflicting results from multiple tests. Remember, this article provides general information and is not a substitute for personalized medical guidance.
References
American College of Obstetricians and Gynecologists (ACOG). “Early Pregnancy Testing.” Clinical Guidance, 2023.
U.S. Food and Drug Administration (FDA). “Home Pregnancy Test Guidance for Industry.” 2022.
National Health Service (NHS). “How to Use a Home Pregnancy Test.” Patient Information, 2023.
World Health Organization (WHO). “Guidelines on Pregnancy Testing and Early Detection.” 2021.
Mayo Clinic. “Pregnancy Test: How to Read the Results.” 2024.
Signal Foundation. “Secure Messaging for Health Information.” 2023.
Apple Support. “Protecting Your Health Data on iPhone.” 2024.
Google Safety Center. “Privacy Best Practices for Photos.” 2023.
Pregnancy Test Analyzer App. Product Documentation, 2024.
Healthline. “Interpreting Faint Lines on Home Pregnancy Tests.” 2022.
American Bar Association. “Electronic Evidence: Authentication and Reliability.” 2021.
Telehealth Industry Association. “Best Practices for Secure Image Transfer in Virtual Visits.” 2023.
Not sure about the label on Photo Of A Pregnancy Test How To Document Results products?
Snap the ingredients list and SafeFilter checks every ingredient for your stage — only 3 free scans this month, then you're locked until reset. Unlimited from $7/mo or $50/yr.
When Shubhra Mishra was expecting her first child in 2016, she was overwhelmed by conflicting food advice — one site said yes, another said never. By the time her second baby arrived in 2019, she realized millions of mothers face the same confusion.
That sparked a five-year journey through clinical nutrition papers, cultural diets, and expert conversations — all leading to BumpBites: a calm, compassionate space where science meets everyday motherhood.
Her long-term vision is to build a global community ensuring safe, supported, and free deliveriesfor every mother — because no woman should face pregnancy alone or uninformed. 🌿
🌍 Stand with mothers, shape safer guidance
Join a small circle of experts who review BumpBites articles so expecting parents everywhere can decide with confidence.