Discover beautiful pregnancy photo inspo park outdoor shoot ideas for a memorable experience, including tips and locations to capture perfect moments with keyword
By Shubhra Mishra — a mom of two who turned her own confusion during pregnancy into BumpBites, a global mission to make food choices clear, safe, and stress-free for every expecting mother. 💛
Check whether any food is safe during pregnancy with the BumpBites Food Safety Checker.
Quick take: Yes—you can create stunning, safe, and budget‑friendly pregnancy photos in a park. Aim for the second trimester, shoot during the golden hour or on an overcast day, dress in soft, breathable fabrics, and keep props simple (ultrasound print, tiny shoes, flowers). A local park with a mix of trees, benches, and water works beautifully, whether you hire a photographer or go DIY.
It’s 6 p.m. on a breezy Saturday, and you’re standing on a grassy hill, feeling the excitement of your growing belly and the flutter of nerves about the upcoming photo session. You’ve Googled “pregnancy photo inspo park outdoor shoot ideas” and now you’re wondering: what pose looks good? What should I wear? Is it safe to shoot in the third trimester? You’re not alone—millions of expectant parents face the same questions, and we’re here to guide you through every step, from scouting the perfect park to striking the most flattering pose.
In this guide we’ll break down the entire process, answering the exact queries you probably typed into Google. You’ll learn which season and time of day give the best natural light, what outfits and props work without breaking the bank, how to include a toddler or partner, and whether a DIY approach can match a professional photographer. By the end, you’ll have a clear, step‑by‑step plan that lets you feel confident, comfortable, and camera‑ready.
Let’s start with the basics—when to shoot, where to shoot, and how to prepare—so you can turn a simple park visit into a memorable maternity photo experience.
What are the best outdoor maternity photo poses in a park?
Posing in a park gives you natural backdrops—trees, water, open fields—that enhance the story of growing life. The key is to keep the poses relaxed, varied, and functional for different body stages. Below are the most flattering and camera‑friendly poses, grouped by position and mood.
Standing poses
Side profile with belly hand: Turn your body slightly away from the camera, place one hand on the belly, and let the other rest lightly on a nearby tree trunk or fence. This angle highlights the curve while keeping shoulders relaxed.
Walking towards the camera: Take a few slow steps toward the photographer, looking either at the lens or down at your belly. The motion adds a sense of journey and captures natural movement.
Lean against a tree: Rest one shoulder against a tree, shift your weight onto one leg, and let the opposite leg bend slightly. This pose creates a casual, “caught in a moment” feel.
Sitting poses
Sitting on a blanket in grass: Spread a soft blanket on the lawn, sit with knees bent, and cradle your belly with both hands. The grass adds texture, and the lower angle is flattering for a growing belly.
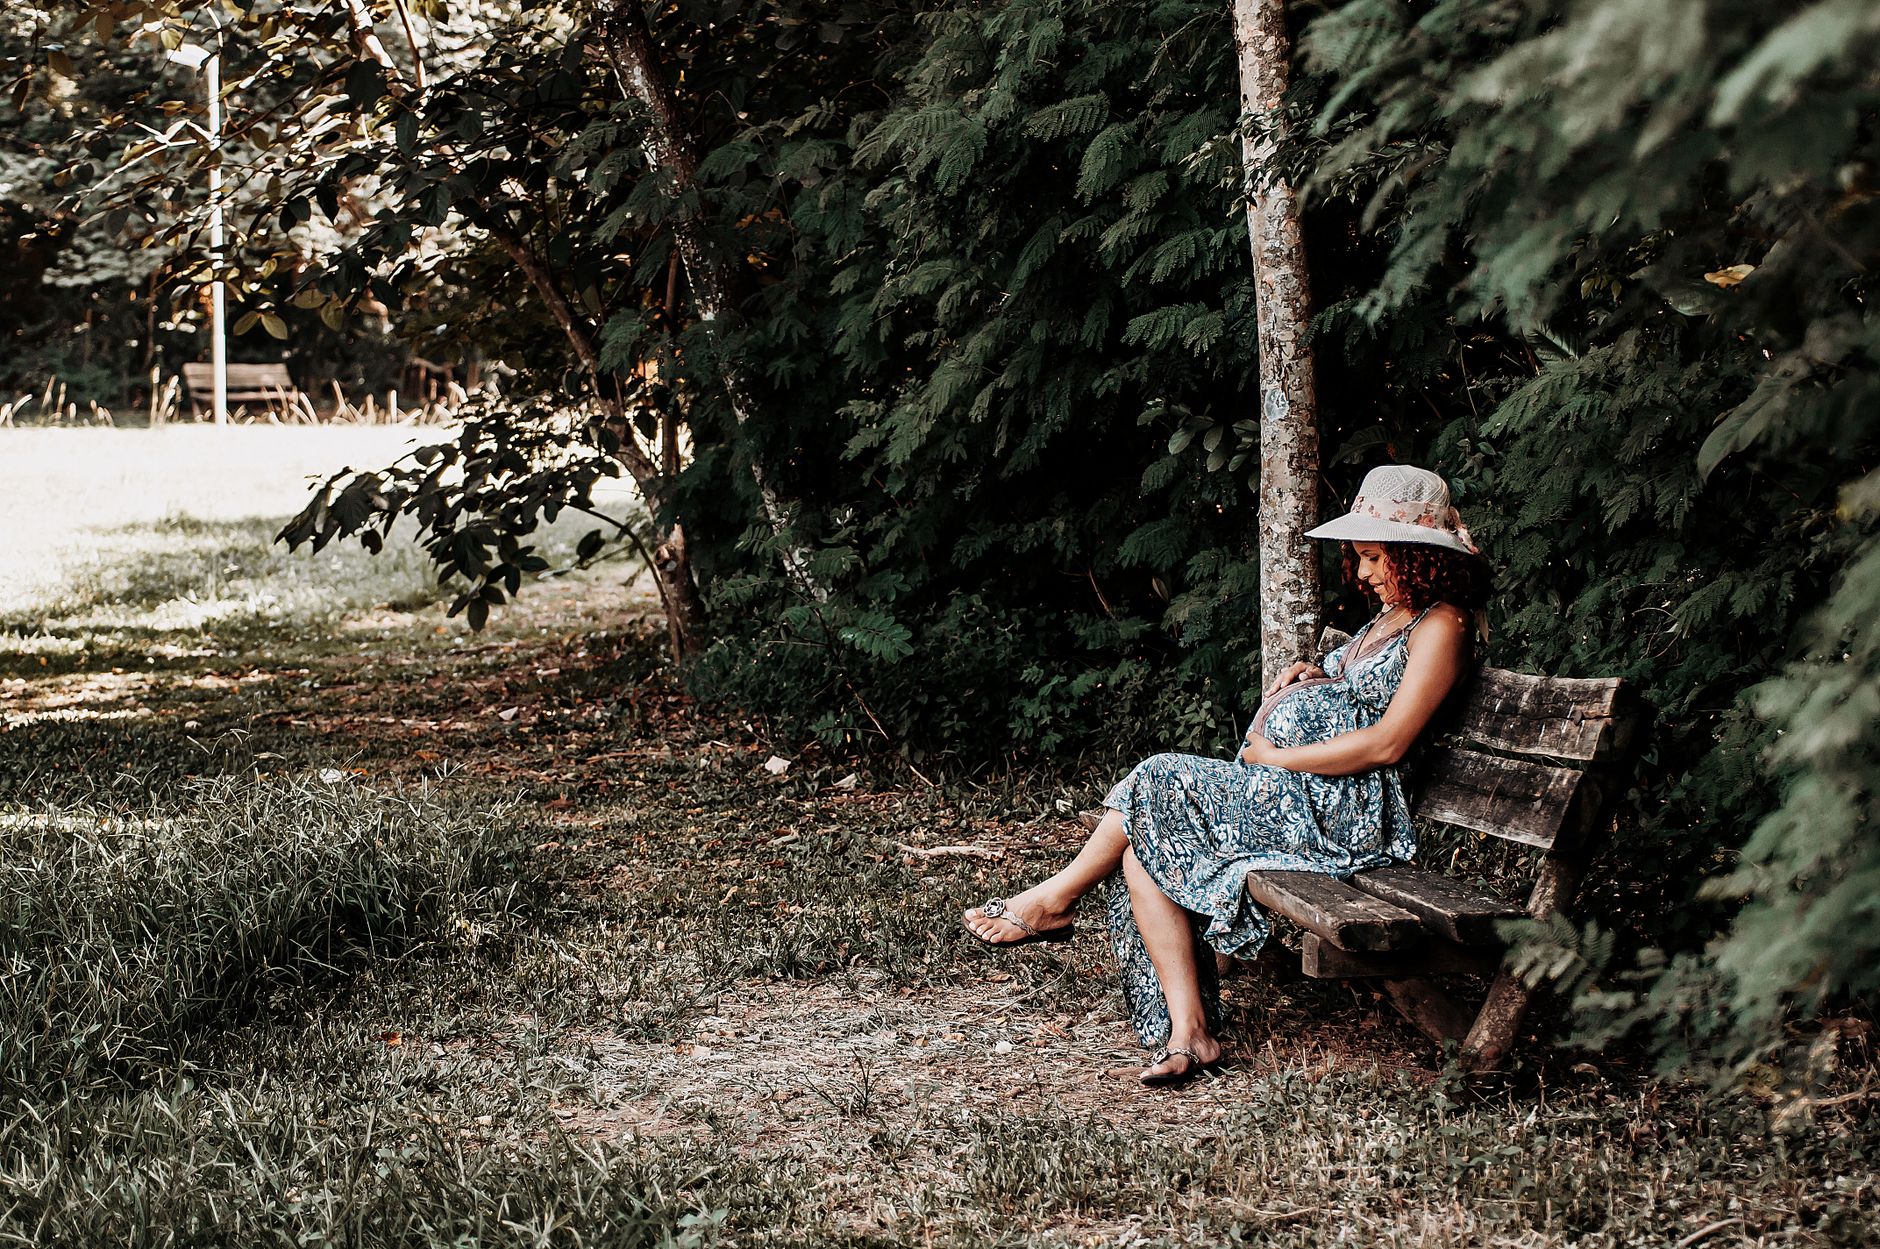
Sitting on a park bench: Sit sideways on a bench, cross one leg over the other, and rest your hands on your belly. This pose works well in the afternoon when benches are bathed in gentle light.
Sitting on a low wall or stone ledge: A low stone wall offers a higher viewpoint while still feeling grounded. Keep your spine straight and tilt your chin slightly upward for a regal look.
Lying down poses
Side‑lying on a blanket: Lie on your side with a pillow supporting your head, and place one hand on your belly. This pose is especially comfortable in the third trimester and works beautifully on a sunny lawn.
Reclining on a mossy rock: If the park has a safe, flat stone, recline with a cushion underneath. The natural moss provides a soft, earthy backdrop.
Couple poses
Holding hands: Stand or sit side by side, holding hands and gently leaning toward each other. This emphasizes partnership and the shared excitement.
Partner behind the belly: Have your partner wrap their arms around you from behind, resting their hands on your belly. It’s an intimate, supportive pose that works well at sunset.
Family poses (including toddler)
Toddler hugging the belly: Sit on a blanket and let your older child wrap their arms around your belly. Capture the moment of sibling‑to‑be love.
Walking hand‑in‑hand: Walk together, with the toddler holding your hand and you holding the partner’s. This dynamic pose shows the whole family moving forward.
When you try these poses, remember to keep your shoulders relaxed, breathe naturally, and focus on a gentle, confident expression. The park’s natural light will highlight the softness of your skin and the roundness of your belly, especially when you’re in the second trimester—a sweet spot between comfort and visibility.
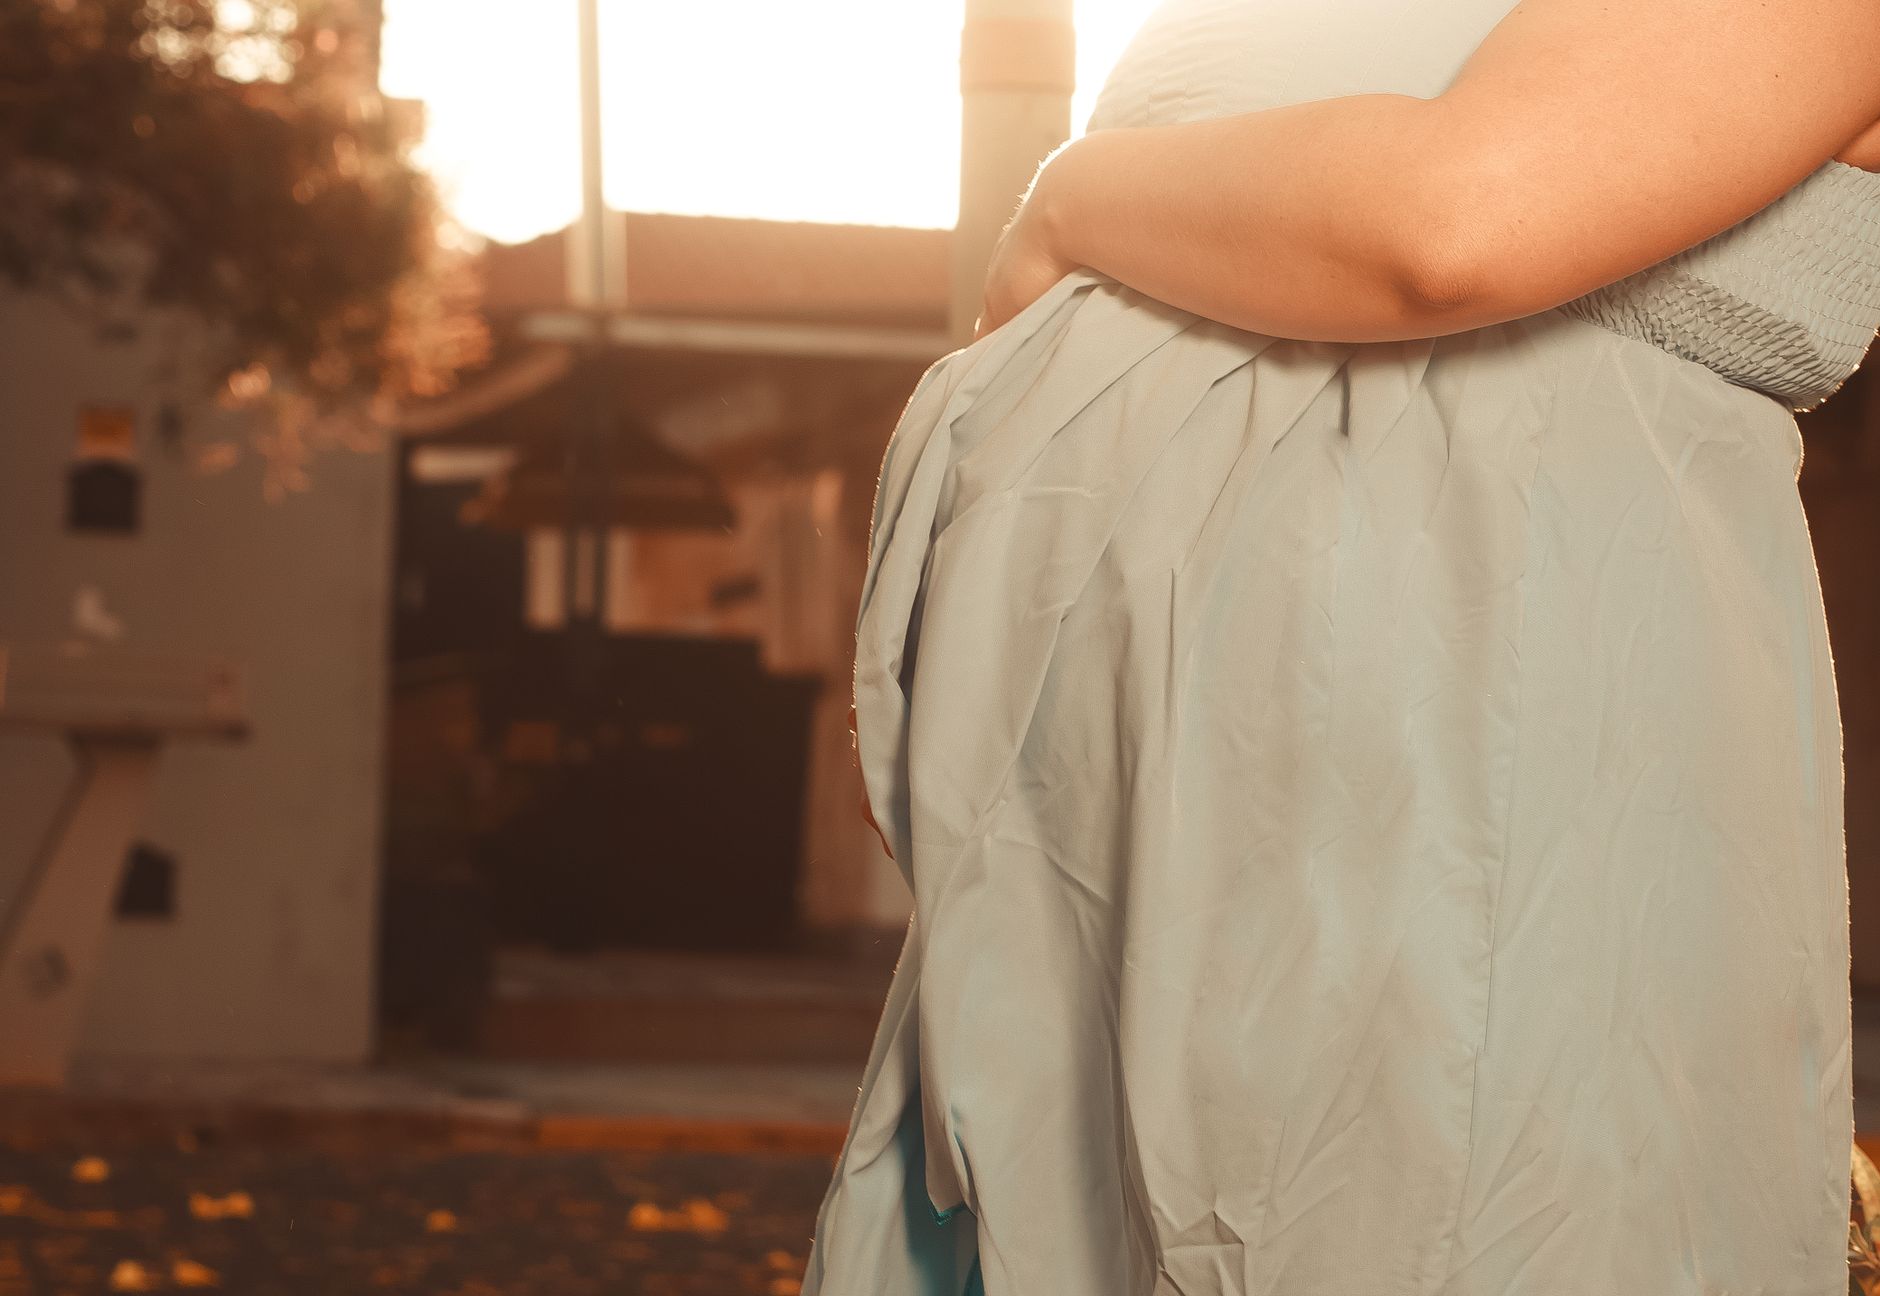
Standing side profile with a hand on the belly captures the curve beautifully.
What to wear for a park maternity photoshoot?
Clothing sets the tone of your photo story. In a park, you want outfits that complement the natural surroundings, stay comfortable as you move, and highlight your baby bump without overwhelming it. Below we cover fabric choices, color palettes, and specific outfit ideas for each season.
Fabric and fit
Flowy, breathable fabrics: Lightweight chiffon, soft jersey, and breathable cotton drape beautifully over a growing belly and catch the wind for a dreamy effect.
Structured pieces for contrast: A well‑fitted denim jacket or a simple knit sweater can add visual interest without hiding the bump.
Comfort first: Avoid anything too tight—especially around the waist—and choose shoes with good support for walking on grass or uneven paths.
Color palette
Neutrals and earth tones: Cream, ivory, soft gray, and muted olive blend seamlessly with park foliage.
Pastel pops: Light blush, dusty lavender, or pale sage add a subtle splash of color without clashing with greens and browns.
Seasonal hues: Warm amber and rust in fall, bright coral in summer, soft sage in spring, and deep burgundy in winter.
Outfit ideas by season
Spring: A pastel midi dress with a lightweight cardigan, paired with nude sandals.
Summer: A sleeveless, knee‑length maxi dress in a soft floral print, plus a wide‑brim straw hat for sun protection.
Fall: A rust‑colored knit sweater over a white maxi dress, complemented by ankle boots.
Winter: A long‑sleeve, ivory wool coat over a dark green turtleneck dress, finished with a cozy scarf.
Accessories should be kept simple—think a thin gold necklace, a delicate bracelet, or a small flower crown. If you’re including a toddler, coordinate their outfit in a complementary shade (e.g., a matching pastel shirt) to keep the scene harmonious.
Soft pastel dresses keep the focus on your glow and bump.
When is the best time of day for outdoor pregnancy photos in a park?
Light is the most important factor in any outdoor shoot. The quality, direction, and color temperature of sunlight can either flatter or flatten a portrait. Here’s a quick guide to timing your park session for the most flattering light.
Golden hour (sunrise & sunset)
Why it works: The sun is low on the horizon, casting a warm, golden hue that softens skin tones and reduces harsh shadows.
Best for: Romantic, dreamy images—especially ideal for standing or walking poses where the light can wrap around the body.
Timing: Approximately 30–60 minutes after sunrise or before sunset, depending on your geographic location and season.
Overcast days
Why it works: Cloud cover diffuses sunlight, creating even, shadow‑free illumination—perfect for detailed shots of the belly or hands.
Best for: Close‑up or prop‑focused images, such as ultrasound prints or baby shoes, where you want consistent lighting.
Timing: Any time during the day, as long as the sky is uniformly overcast.
Midday considerations
Potential challenges: Direct overhead sun can cause unflattering shadows under the eyes and on the belly.
Workarounds: Seek shaded areas—under trees, near a pavilion, or beside a water feature—to diffuse the light.
Overall, the second trimester (weeks 20‑28) is ideal for comfort, belly visibility, and flexibility. In terms of season, late spring and early fall often provide mild temperatures and abundant natural foliage, making them the most photogenic months for many regions.
Season
Typical Weather
Best Light Time
Suggested Outfit Colors
Spring (Mar‑May)
Cool to mild, blooming flowers
Early morning golden hour
Soft pastels, sage, ivory
Summer (Jun‑Aug)
Warm, occasional heat
Late afternoon, overcast if possible
Bright coral, light teal, white
Fall (Sep‑Nov)
Cool, colorful foliage
Golden hour (sunset)
Rust, mustard, deep green
Winter (Dec‑Feb)
Cold, occasional snow
Midday with soft clouds
Ivory, burgundy, navy
Creative props for park maternity photoshoots
Props add narrative depth and personalize your images. The best ones are simple, meaningful, and safe for both you and any little ones joining the shoot.
Ultrasound and baby‑related items
Printed ultrasound photo: Hold it against your belly or have your partner place it on the ground for a symbolic “future reveal.”
Baby shoes or booties: Place them on a low branch, on a blanket, or gently cradled in your hands.
Letter board or wooden sign: Write your baby’s name, due date, or a sweet message (“Our little miracle”).
Seasonal and nature‑based props
Flower crowns or single blooms: Choose wildflowers for a rustic vibe or a single rose for elegance.
Leaves or branches: In fall, hold a handful of colorful leaves; in spring, incorporate fresh pine branches.
Water features: If the park has a pond, a small rowboat or a floating lantern can add a whimsical touch.
Everyday items
Blankets and throws: A soft, neutral blanket can serve as a seated surface and add texture.
Books or journals: Capture the anticipation of reading future bedtime stories.
Fruit or snacks: A basket of apples or a watermelon slice can inject color and a relaxed, picnic feel.
When using props, keep safety in mind: avoid anything sharp, heavy, or likely to cause a slip on grassy terrain. Also, make sure any items you bring are easy to clean, especially if you’re shooting near water.
How to find the perfect park location for maternity pictures near me?
Finding the right park doesn’t require a travel agency—just a few strategic steps to scout locations that offer variety, privacy, and safety.
Online research
Google Maps & Street View: Look for parks with “walking trails,” “ponds,” “gazebos,” or “open fields.” Use the satellite view to gauge tree density and open spaces.
Local photography groups: Browse Instagram hashtags (e.g., #cityparkphotography) to see where other parents have shot maternity photos.
Municipal websites: Many city parks list amenities, opening hours, and any permit requirements for photography.
On‑site scouting
Visit at your intended shoot time: Observe how the light falls, note any crowds, and test the ground for evenness.
Check for diverse backdrops: Look for a mix of tall trees, open lawns, benches, and water features. Variety lets you capture multiple looks in one session.
Consider accessibility: Ensure paths are smooth enough for a stroller if you plan to bring your toddler.
Free vs. permit‑required locations
Most public parks allow casual photography without a permit, especially for personal use. However, if you’ll have a professional photographer with equipment, some municipalities ask for a simple permit—often free or low‑cost. Always call the park office to confirm, especially if you intend to set up a large backdrop or bring a tripod.
Pro tip: Parks with historic structures (e.g., old bridges, stone arches) add architectural interest without needing additional props. Look for “heritage” tags on city park maps.
Tips for a successful DIY outdoor maternity photoshoot in a park
You don’t need a professional photographer to capture gorgeous images. With a smartphone or a modest DSLR, a little planning, and the right mindset, you can produce high‑quality photos that feel authentic.
Equipment basics
Camera: Modern smartphones (iPhone 14, Google Pixel 8, Samsung Galaxy S23) have excellent portrait modes with background blur.
Tripod: A lightweight, flexible tripod lets you set the camera at waist height for hands‑free shots.
Remote shutter or timer: Use a Bluetooth remote or the 3‑second timer to avoid camera shake.
Setting up the shot
Choose a focal point: Position yourself so the background complements—not competes—with your belly.
Use natural frames: Tree branches, arches, or fences can frame your silhouette and add depth.
Mind the horizon: Keep the horizon level; tilt can create a disorienting effect.
Lighting tricks
Golden hour glow: Face the sun at a 45‑degree angle to create a soft rim of light around your silhouette.
Overcast diffusion: Position yourself under a canopy of leaves to soften direct sunlight.
Reflectors: A simple white poster board or a reflective phone screen can bounce light onto your face.
Posing tips for comfort
Support your back: Use a bench or a sturdy tree trunk to lean against, reducing strain.
Take breaks: Switch poses every 10‑15 minutes; standing too long can become uncomfortable.
Stay hydrated: Bring a water bottle—especially on warm days.
Post‑shoot workflow
Select the best shots: Look for images where the belly is clearly defined, the lighting is even, and your expression feels natural.
Edit lightly: Use built‑in phone apps (Snapseed, Lightroom Mobile) to adjust exposure, contrast, and subtle warmth.
Back up files: Save originals to cloud storage and a local drive.
DIY shoots can be as affordable as a coffee and a park permit, yet they still deliver intimate, love‑filled images that you’ll treasure for years.
Ideas for husband and wife park maternity photoshoot
A partner’s presence adds emotional depth and narrative to maternity photos. Below are ideas that showcase connection, anticipation, and shared excitement.
Coordinated outfits
Matching neutrals: Both wear soft beige or ivory tones; the mom’s dress flows while the dad wears a lightweight linen shirt.
Complementary colors: If the mom chooses a pastel dress, the dad can wear a muted pastel shirt or tie.
Pose concepts
Holding the belly together: Stand side by side, each hand resting on the bump. Look at each other for a tender moment.
Walking hand‑in‑hand: Capture movement by strolling along a path, with the dad’s arm around the mom’s waist.
Back‑to‑back support: The dad leans against a tree while the mom rests her back on a bench, symbolizing mutual support.
Silhouette at sunset: Position yourselves facing away from the camera, holding hands, against the golden sky for a dramatic silhouette.
Prop integration
Joint sign: Write “Team [Last Name]” on a small board and hold it together.
Baby shoes: The dad can gently place tiny shoes on the mom’s belly, creating a playful interaction.
Letter balloons: Float a “Love” balloon in the background for a whimsical touch.
Remember to keep the mood light—laugh, share a secret, or talk about the baby’s name. Genuine interaction translates into authentic photographs.
Seasonal park maternity photo ideas: spring, summer, fall, winter
Each season brings its own palette and mood, allowing you to capture a series of images that tell a year‑long story of anticipation.
Spring
Backdrop: Blooming cherry blossoms, fresh green grass.
Outfit: Light pastel dress, soft cardigan.
Prop: A basket of wildflowers or a pastel-colored kite.
Pose: Sitting on a low fence, gently cradling the belly, with blossoms framing the scene.
Summer
Backdrop: Sun‑lit open fields, sparkling lake.
Outfit: Sleeveless maxi dress, wide‑brim hat.
Prop: A straw picnic blanket and a basket of fresh fruit.
Pose: Walking barefoot on the grass, looking toward the horizon, capturing the feeling of freedom.
Fall
Backdrop: Colorful foliage—orange, red, gold.
Outfit: Rust‑colored sweater over a cream dress, ankle boots.
Prop: A handful of fallen leaves or a pumpkin.
Pose: Sitting on a log, holding a leaf against the belly, with the sunlight filtering through trees.
Pose: Standing near a frost‑kissed fence, hands on the belly, with breath visible in the cold air.
Seasonal shoots not only add visual variety but also create a timeline you can look back on after the baby arrives. If you plan to document each trimester, align your wardrobe and props with the season you’re shooting in for a cohesive album.
From our medical team: Maternity photography is safe at any stage, but the second trimester (weeks 20‑28) often offers the best mix of comfort, visibility, and flexibility. Stay hydrated, avoid extreme heat, and wear supportive shoes. If you have any pregnancy‑related concerns—such as hypertension, pre‑eclampsia risk, or limited mobility—consult your provider before the shoot to ensure you’re cleared for the chosen location and activity level.
Myth vs. fact
Myth: You need a professional photographer to get good maternity photos.
Fact: With a smartphone, a tripod, and good natural light, you can capture beautiful images. A professional can add polish, but DIY shoots are perfectly viable and budget‑friendly.
Myth: You should only photograph in the third trimester for a bigger belly.
Fact: The second trimester provides a visible bump while you’re still comfortable moving and posing, making it the optimal window for most shoots.
Myth: Bright sunlight will always ruin maternity photos.
Fact: Direct sun can create harsh shadows, but shooting during golden hour or using shade from trees gives flattering, warm illumination. Overcast days also provide soft, even light.
Key takeaways
Schedule your park shoot in the second trimester, preferably during golden hour or on an overcast day for flattering natural light.
Choose flowy, breathable fabrics in neutral or pastel colors; coordinate seasonal hues for added visual harmony.
Incorporate simple, meaningful props—ultrasound prints, baby shoes, flowers, or a handwritten sign—to personalize the story.
Scout parks online and in person, looking for diverse backdrops (trees, benches, water) and checking any permit requirements.
DIY photography is achievable with a smartphone, tripod, and basic lighting tricks; professional help adds polish but isn’t mandatory.
Keep comfort and safety first: wear supportive shoes, stay hydrated, and pause if you feel dizzy or overheated.
Frequently asked questions
What should I wear for an outdoor maternity shoot?
The quick answer: pick a soft, flowing dress in a neutral or pastel shade, and pair it with comfortable shoes.
Details: Fabrics like chiffon, jersey, or lightweight cotton drape nicely over a growing belly. Neutral tones (cream, ivory, soft gray) blend with park foliage, while pastel pops (blush, sage) add subtle color. Avoid tight waistbands and choose layers you can add or remove as the temperature changes.
When is the best time to take maternity photos outside?
The quick answer: aim for the golden hour (sunrise or sunset) or a cloudy day during the second trimester.
Details: Golden hour provides warm, flattering light that softens shadows. Overcast days give even illumination, perfect for close‑up shots. The second trimester (weeks 20‑28) balances comfort with belly visibility, making it the ideal window for most outdoor sessions.
How do you pose for a maternity shoot?
The quick answer: use gentle, open poses—hand on belly, side profile, or walking toward the camera.
Details: Classic poses include standing side‑profile with one hand cradling the bump, sitting on a blanket in the grass, and walking hand‑in‑hand with your partner. Keep shoulders relaxed, breathe naturally, and focus on a soft, confident expression. Prop‑aided poses, like holding an ultrasound print, add narrative depth.
What are some good props for a maternity photoshoot?
The quick answer: keep props simple and meaningful—ultrasound photos, baby shoes, flowers, or a handwritten sign.
Details: A printed ultrasound held against the belly symbolizes the upcoming arrival. Tiny booties can be placed on a blanket or held in your hands. Seasonal flowers or leaf bundles add texture, while a small wooden sign with the baby’s name or due date personalizes the image.
How much does a park maternity photoshoot cost?
The quick answer: DIY shoots can be free (just a phone and park permit), while hiring a photographer typically ranges from $200 to $800.
Details: Costs depend on photographer experience, location, and duration. Many professionals charge per hour plus editing fees. If you opt for DIY, you’ll only spend on a tripod, optional reflectors, and maybe a small permit fee if required by the park.
Can I do my own maternity photoshoot?
The quick answer: yes—using a smartphone, tripod, and basic lighting you can capture beautiful images on your own.
Details: Set up the camera on a tripod, use the timer or a Bluetooth remote, and experiment with natural light. Overcast days reduce harsh shadows, while golden hour adds warmth. If you’re comfortable, DIY saves money and gives you full creative control; a professional photographer, however, can provide advanced lighting, styling, and post‑processing expertise.
When to call your doctor
If you experience any of the following, contact your provider immediately: sudden swelling of the hands or face, severe headache, vision changes, persistent abdominal pain, vaginal bleeding, or feeling faint during the shoot. Remember, this article is for informational purposes only and does not replace personalized medical advice.
References
American College of Obstetricians and Gynecologists (ACOG). “Physical Activity and Exercise During Pregnancy and the Postpartum Period.” 2023 clinical guidance.
National Health Service (NHS). “Maternity care: advice for pregnant women.” Updated 2022.
World Health Organization (WHO). “Recommendations on antenatal care for a positive pregnancy experience.” 2021.
American Academy of Pediatrics (AAP). “Guidelines for safe photography with infants.” 2022.
U.S. Food and Drug Administration (FDA). “Guidance for industry: sunscreen use during pregnancy.” 2022.
UK National Institute for Health and Care Excellence (NICE). “Pregnancy and early years: advice for mothers and families.” 2023.
Not sure about the label on Pregnancy Photo Inspo Park Outdoor Shoot Ideas products?
Snap the ingredients list and SafeFilter checks every ingredient for your stage — only 3 free scans this month, then you're locked until reset. Unlimited from $7/mo or $50/yr.
When Shubhra Mishra was expecting her first child in 2016, she was overwhelmed by conflicting food advice — one site said yes, another said never. By the time her second baby arrived in 2019, she realized millions of mothers face the same confusion.
That sparked a five-year journey through clinical nutrition papers, cultural diets, and expert conversations — all leading to BumpBites: a calm, compassionate space where science meets everyday motherhood.
Her long-term vision is to build a global community ensuring safe, supported, and free deliveriesfor every mother — because no woman should face pregnancy alone or uninformed. 🌿
🌍 Stand with mothers, shape safer guidance
Join a small circle of experts who review BumpBites articles so expecting parents everywhere can decide with confidence.